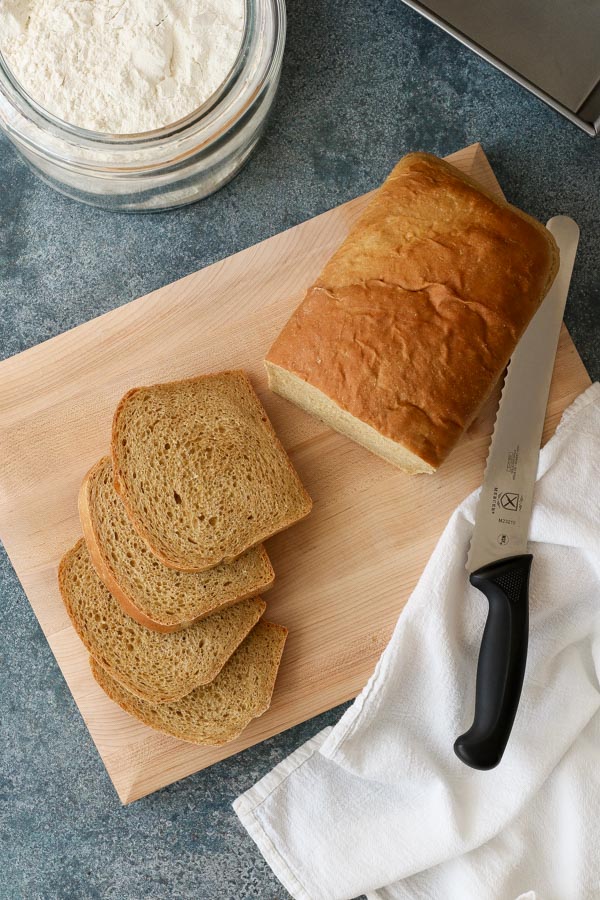
if you grew up in northern new england, there’s some chance that you’ve heard of anadama bread. if you didn’t grow up here, the odds drop precipitously. and that’s a shame, because good bread should be available to everyone, regardless of where you live.
there’s a whole mythology to the origin story of anadama bread. while the credibility of the story in general (a fisherman in rockport, MA got sick of his wife serving molasses and cornmeal mush with dinner and threw some flour and yeast into the bowl before baking it, while muttering “anna, damn her!”), is suspect (if only food blogs and instagram had existed back in 1850 – just think of the real time documentation we would have!), what is undeniably true is that this is some seriously yummy bread.
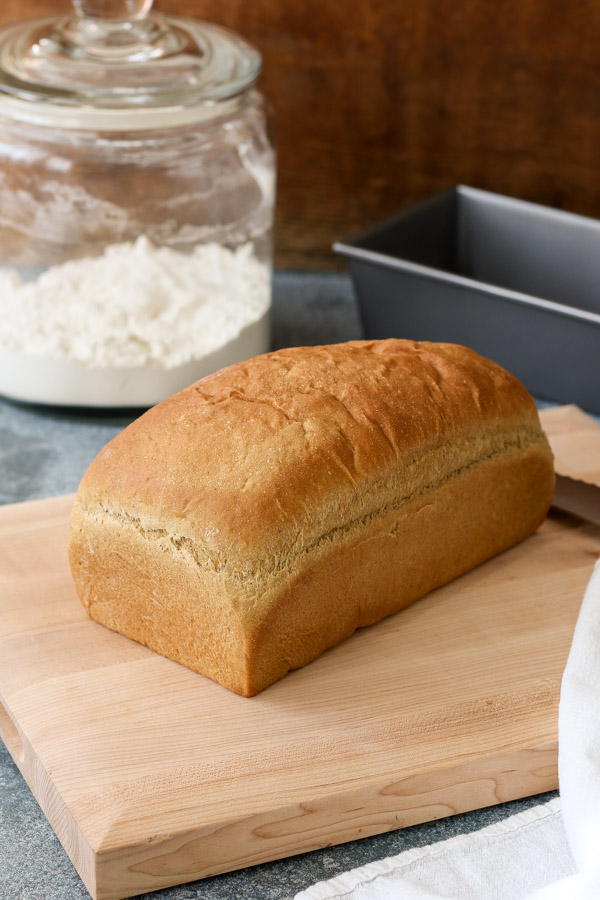
as with any food with a long history, there are a number of slightly different recipes that have emerged over the years. what they have in common is cornmeal and molasses, in addition to the usual flour, yeast, etc. after that, the recipes begin to diverge a bit.
i tried several different existing recipes in my quest to find my favorite anadama bread recipe (a hardship, i assure you) and, in the end, no one will be surprised to learn that i ended up grafting one recipe onto another. just because nutmeg isn’t a traditional ingredient doesn’t mean it’s not a good idea…
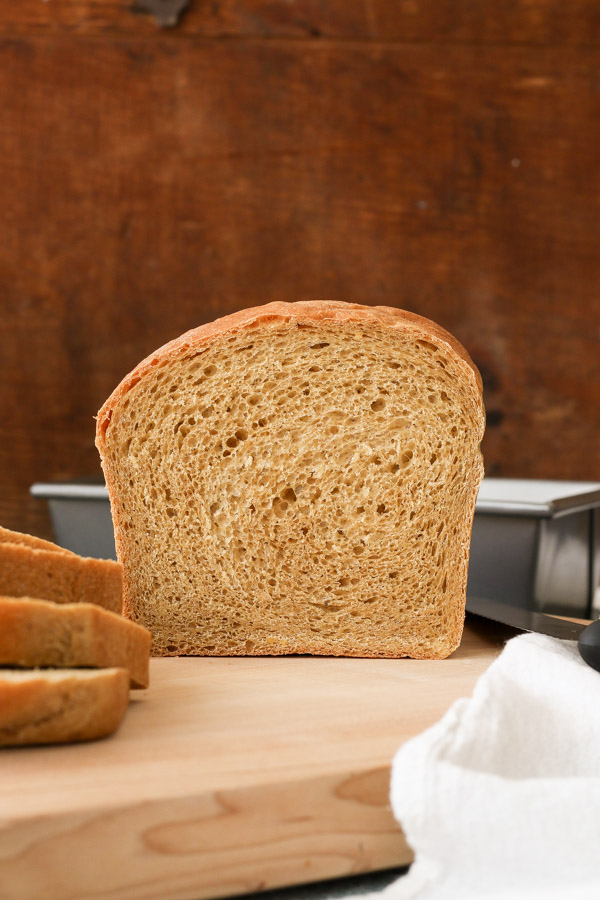
the nutmeg came from a recipe that, while delicious, foiled me every time but the very first time that i made it. after several attempts to replicate what must have been beginner’s luck (with an unreliable recipe), i compared the mercurial recipe to a much more solid performer and happily realized that i could just add a pinch of nutmeg to the reliable recipe and end up with some delicious bread that didn’t have a gummy stripe that i took to be an indication of over proofing the dough.
because even though my friends happily ate each of the not-quite-right loaves made with the problem child recipe, i didn’t want to send y’all out in to the world with a temperamental recipe. luckily, the only unreliable thing about this anadma bread now is its origin story.
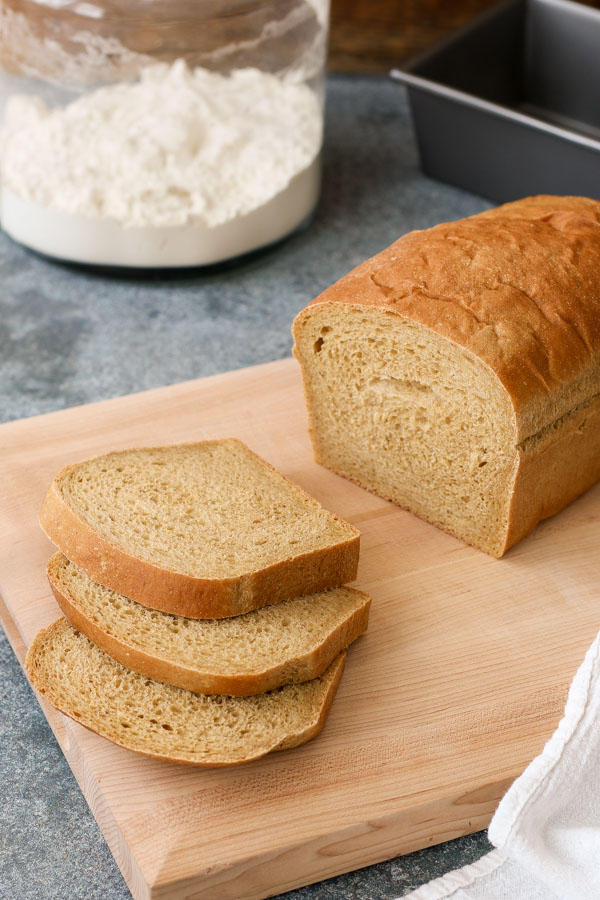
p.s. – if you’re not sure how to eat this bread/what to do with it, know that anything you can think of will be good. fresh or toasted: both excellent choices. slathered in homemade pecan butter or molasses butter (combine softened butter with a bit of molasses): swoon. used to make a BLT or leftover-turkey-from-thanksgiving sandwich: do it. toasted then topped with almond butter, sliced banana, and a drizzle of molasses: amazing (though, really, i’d probably find pickled herring with a drizzle of molasses to be quite tolerable). toasted and topped with cream cheese (or mascarpone!) and dusted with cinnamon: i bet that would be sublime; try it and let me know. and should you somehow manage to have leftovers, despite all of those ideas, we have banana molasses bread pudding coming on thursday. so on second thought, maybe just plan to make a second loaf?
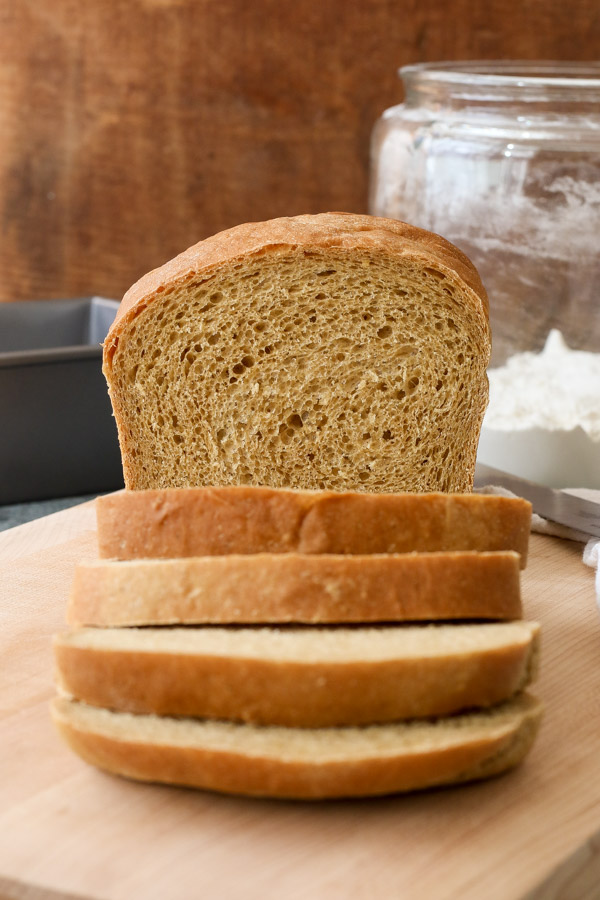
anadama bread
Ingredients
- ¾ cup (6 fl. oz. / 180 ml) whole milk, heated to 110° F
- 1/3 cup (2 2/3 fl. oz. / 79 ml) water, heated to 110° F
- 3 tablespoons molasses (i used regular and haven’t tried blackstrap)
- 2 tablespoons unsalted butter, melted
- 3 ¼ cups (17 7/8 oz. / 507 g.) bread flour, see notes
- 2 ¼ teaspoons instant or rapid-rise yeast
- 1 ½ teaspoons salt
- ½ teaspoon ground nutmeg
- ½ cup (4 fl. oz. / 120 ml) water
- ¼ cup (1 ¼ oz. / 35 g.) cornmeal
Instructions
- move the oven rack to the lowest position and preheat the oven to 200° F. once the oven comes up to temperature, keep the oven on for 10 minutes, then shut it off and keep the door closed.
- whisk the milk, 1/3 cup of water, molasses, and butter together in a medium bowl. set aside.
- combine the flour, yeast, salt, and nutmeg in the bowl of a stand mixer (affiliate link). fit the dough hook onto the mixer and run for a few seconds to combine the ingredients. set aside.
- in a small saucepan, bring the ½ cup of water to a boil. whisking constantly and pouring slowly to minimize lumps, add the cornmeal to the water. whisk constantly over medium heat for about 1 minute, until the mixture thickens.
- add the cornmeal mixture to the stand mixer bowl with the flour. beat on low speed for 30 seconds (the dough will not be totally combined at this point). keeping the mixer on low speed, slowly pour in the milk mixture. run the mixer on low speed for about 2 minutes to bring the dough together. increase the mixer speed to medium (this would be speed 4 on a kitchenaid but this seemed really aggressive. i used speed 4 for about 2 minutes, then turned the mixer down to speed 2 for the remainder of the time.) and knead for about 10 minutes, until the dough is smooth and satiny. you may need to stop the mixer periodically to scrape down the sides of the bowl and the dough hook.
- turn the dough out onto a lightly floured counter and knead just enough to shape into a smooth, round ball (about 10 – 15 seconds). transfer the dough to a large, lightly oiled bowl. leave the flour on the counter. cover the bowl tightly with plastic wrap and set the bowl in the warm (but turned off) oven. allow the dough to double in size, 35 – 50 minutes (check the dough after 35 minutes).
- remove the dough from the oven and set aside for a moment. set a baking stone (or upside down baking sheet) on the lowest rack. set a spare oven safe metal pan on one side of the rack. later you will pour boiling water into this pan so you don’t want to use glass, ceramic, or anything else that might shatter/freak out. make sure there is enough room on the other side of your baking stone for the loaf pan. preheat the oven to 350° F and let it heat for 1 hour so that the baking stone is thoroughly heated through.
- butter the bottom and sides of a 9” x 5” (23 x 13 cm) loaf pan (mine is 10” x 5 ½” / 25 x 14 cm) (measure the top dimensions, rather than the bottom). transfer the dough back to the floured counter and gently press into a rectangle about 1” (2.5 cm) thick, with the longest side no longer than the length of your loaf pan (either 9” or 10”) and facing you. roll the dough towards you in a tight cylinder (but don’t overdo it and smush the layers together). turn the loaf seam side up and pinch it closed (or at least try to make sure the end is not flapping around). transfer the loaf to the pan, seam side down. press it gently into the corners of the pan. cover the pan loosely with oiled plastic wrap and let the dough rise at room temperature until it has nearly doubled in size, about 20 – 30 minutes. when it’s ready, the dough will barely spring back when you gently poke it with your knuckle (the dent will go away when you bake the loaf).
- just before your dough is done rising, bring 2 cups of water to a boil. working quickly and very carefully (steam burns! boiling water splashes!), pour the boiling water into the empty pan in the oven then set the loaf pan on the baking stone and quickly shut the oven door to trap the steam. if you are as prone to spilling the boiling water as i am, definitely add the pan holding your bread dough after you pour the water into the pan/onto the stone/onto the oven floor.
- bake the bread for 35 – 50 minutes, until the top crust of the bread is golden brown. if you sneak a thermometer into the side of the loaf, it should register 195° F. sneak the thermometer in the side of the loaf to keep all of the steam you need to finish cooking the loaf from escaping and to avoid a hole in the middle of your pretty loaf of bread. transfer the loaf in the pan to a wire rack to cool for 5 minutes, then gently slide a thin spatula around the edge of the pan and tip the bread out. set the loaf upright to finish cooling to room temperature, about 2 hours. (i know it’s difficult to wait, but it’s important so that the inside won’t be gummy.) slice and serve (see p.s. above for serving ideas). leftovers keep tightly wrapped in plastic for 3 days at room temperature or you can add a plastic freezer bag or layer of aluminum foil and freeze the bread.
Notes
when a recipe provides a cups to ounces or grams measurement, i use the conversion provided by the recipe. when it doesn’t (which is usually), i use the conversion chart on the king arthur flour website. this recipe came with cup and ounce measurements, which i used, so they are a bit different than what i usually provide.
if you don’t have bread flour, all-purpose flour may be substituted.
adapted from cornmeal loaf bread in the cook’s illustrated cookbook (affiliate link).
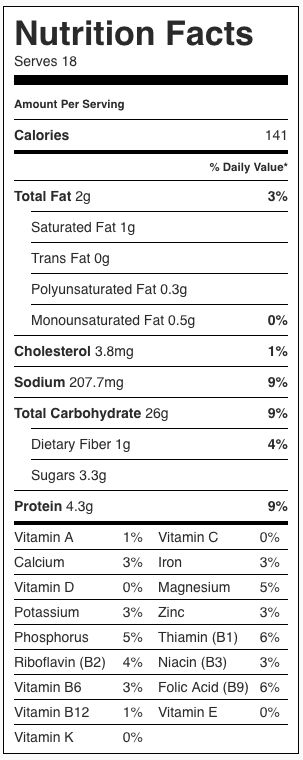
Nutrition Facts
anadama bread
Serves: 18 slices
| Amount Per Serving: | ||
|---|---|---|
| Calories | 141 | |
| % Daily Value* | ||
| Total Fat | 0 | |
| Saturated Fat | 0 | |
| Trans Fat | ||
| Cholesterol | 0 | |
| Sodium | 0 | |
| Total Carbohydrate | 0 | |
| Dietary Fiber | 0 | |
| Sugars | ||
| Protein | ||
| Vitamin A | Vitamin C | |
| Calcium | Iron | |
* Percent Daily Values are based on a 2,000 calorie diet. Your daily values may be higher or lower depending on your calorie needs.
tasty seasons
please note this page contains affiliate links, which means that if you make a purchase after clicking from here, i will earn a small commission from amazon at no additional charge to you. i only link to products that i use and love. thank you for supporting tasty seasons!

 Save to BigOven
This looks amazing. I’ve wanted to make anadama bread for years (since moving to New England from the Midwest where we have no such thing) but have always been intimidated. Question about the milk and water temperatures: do you have a favorite thermometer? I usually just test hot liquid for yeast proofing against my skin (just past warm, not scalding), but you probably do something more reliable. 😉
oh my goodness! you turned a 50 lb. bag of flour into a wedding cake! you’ve got this! as someone who never mastered the intuitive approach to yeast temperature preferences, i *do* have a favorite thermometer. i have and love my chef alarm by thermoworks. i like it because the cord is much larger than it seems in the large photo on their site so i can stick the probe in a breast of chicken as i’m putting it in the oven, set the thermometer to 165 F, and then use that instead of a timer for perfectly cooked chicken.
that said, the probe/cord setup is sort of overkill for a quick liquid temperature check. cook’s illustrated also likes the more basic (and cheaper) thermopop, also by thermoworks. i haven’t tried this one myself but have yet to be steered wrong by cook’s illustrated (that’s how i found the probe model i have). choices! xo!