i think we can all agree that there is a certain allure to “grilled pizza”. it sounds both sophisticated and simple, all at the same time.
well, the first time i *tried* making grilled pizza, it was neither sophisticated nor simple. i’m not even sure it was edible. dough burned onto the grill grate, holes ripped in the dough, the dough folded over and cooked onto itself, toppings fell through the grates, sauce soaked through the crust – basically anything and everything that could have gone wrong did.
the allure of grilled pizza prevailed though, and, honestly, round one was such a fiasco that i knew i needed to do a bit of research before trying again because CLEARLY my method had some (read: many) flaws. lest you think i am some sort of noble, persistent person who is determined to advance her own knowledge for the sake of intellectual self-improvement, though, let me remind you: melted cheese.
so, with the promise of melted cheese propelling me forward, i commenced internet research followed by trial and error. the first thing that i learned is that whether i am making pizza on the grill or in the oven, i need to use a rolling pin. i am just not (yet?) a person who can “pat the dough into an even circle”. no. that invariably results in a random shape (which is fine) with some very thick spots and some very thin spots (which is not fine). the thin spots rip and burn and make everything frustrating so, rolling pin.
i’ve also learned to use more flour when rolling the dough out for the grill. when i cook pizza in the oven, i use parchment paper for part of the process, which allows me to get away with using less flour when rolling out the dough. as i generally try to limit how much paper i cook on the grill, i have learned to compensate by adding a bunch more flour. i should say, though, i tend to be a flour minimalist when rolling out dough so i’m probably only just using the right amount when i add more but if you too are a flour minimalist, don’t be afraid to add more here. it’s the worst when you open the lid of the grill, get blasted in the face with heat, then struggle to get the dough off the stupid cookie sheet and onto the stupid grate but GAH it’s all stuck together and folded over on itself and forget it! frozen burritos for dinner it is. so, yeah. more flour, friends.
the last thing i learned (which took me a while, because it was initially counterintuitive, at least to me) is that moderate heat is actually better than crazy high heat when making grilled pizza. when you read about cooking pizza in the oven, everyone (myself included) is always trying to crank the heat up as high as it will go. after making several pizzas that were a bit more aggressively cooked on the outside of the crust than i would have liked (read: had big black burned sections) and a bit more, um, in their “natural state” than i would have liked on the inside of the crust and in the toppings (read: raw/only partially melted), i was lucky enough to be too impatient to let the grill heat up all the way one day. and that is how i realized that pizzas grilled at 350° F are actually quite a bit better than burned and raw pizzas grilled at 450° F and up. which totally made sense, once i realized that pizza ovens are heated to burningcrazyhot BUT the pizza is not close to the flame most of the time and is being cooked by very hot bricks/air instead.
and one more bonus tip – this isn’t so much something i’ve learned as something that has always been true since pizza #1 but: you need 4 hands. as in, time to recruit a helper! maybe someday i will use so much flour and be so skilled that i can do this with 2 hands but until then: 4 hands and a plan for which hands will do which steps. we tend to have one person hold the cookie sheet in place then the other person wrestles the dough onto the grate, trying to crumple it up in a ball as little as possible. then we quickly set the cookie sheet down and use the heat safe tongs that we grabbed in advance to pull at the folded-over parts before they start welding together.
in short:
- more rolling pin
- more flour
- less heat
- more hands
those are my 3 tips plus a bonus prerequisite for less disastrous grilled pizza making. i think maybe i make it sound not so simple but it is possible to get much better at it over relatively few tries, especially if you learn from someone else’s mistakes (you’re welcome). and my last tip is that while i often disobey the “don’t try a recipe for the first time when you have guests coming over” rule, even *i* would recommend following that rule when it comes to grilled pizza. i DO recommend that you try making grilled pizza for yourself (and your helper!) though because it really is good and different than pizza cooked in an oven.
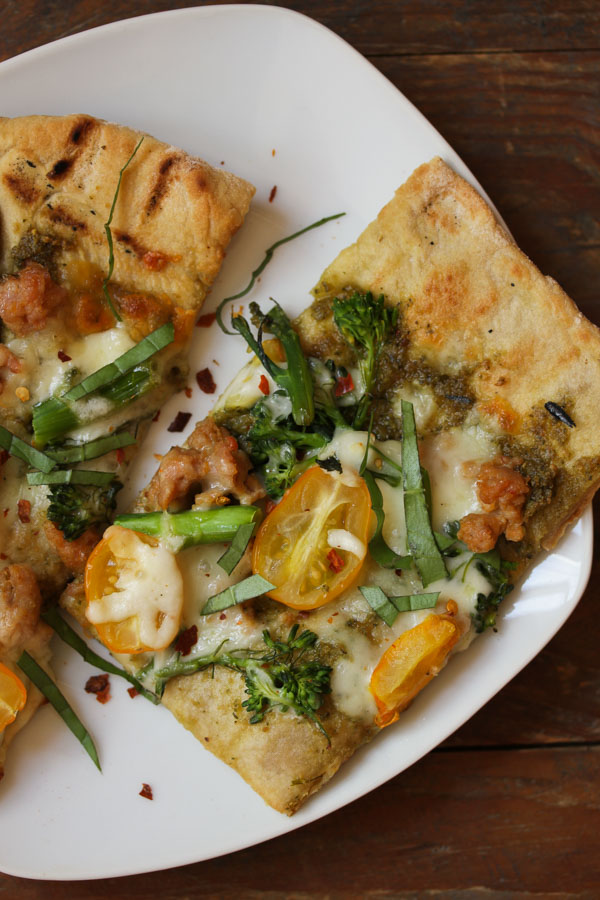
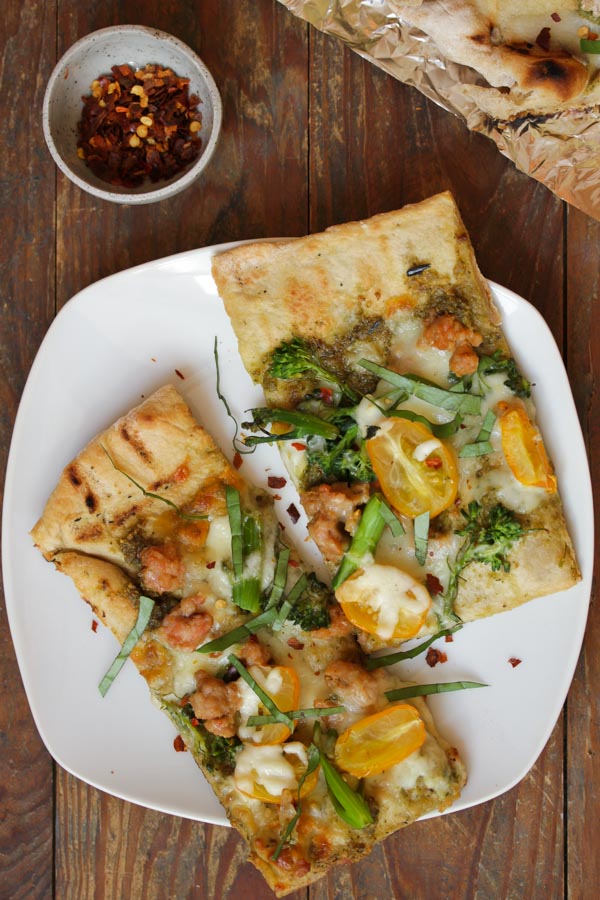
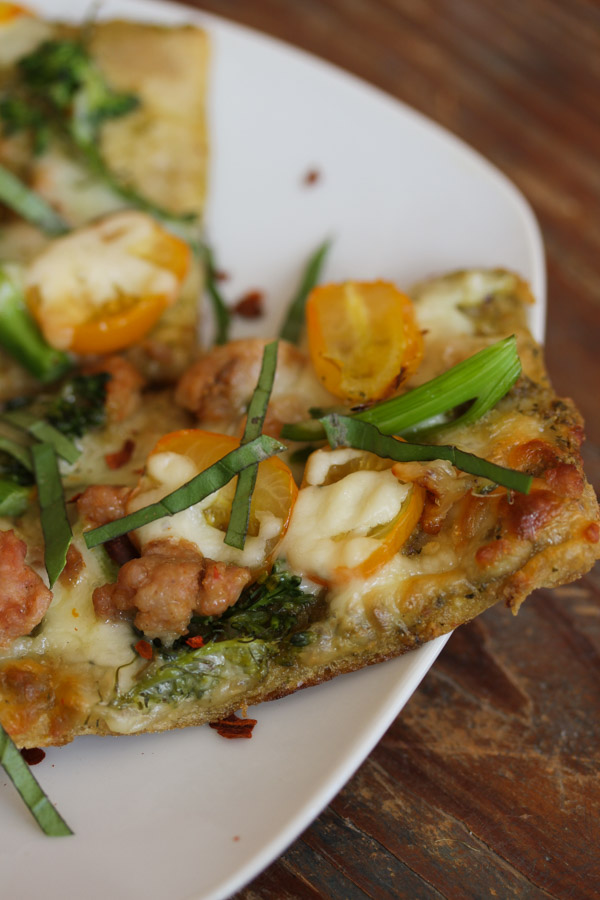
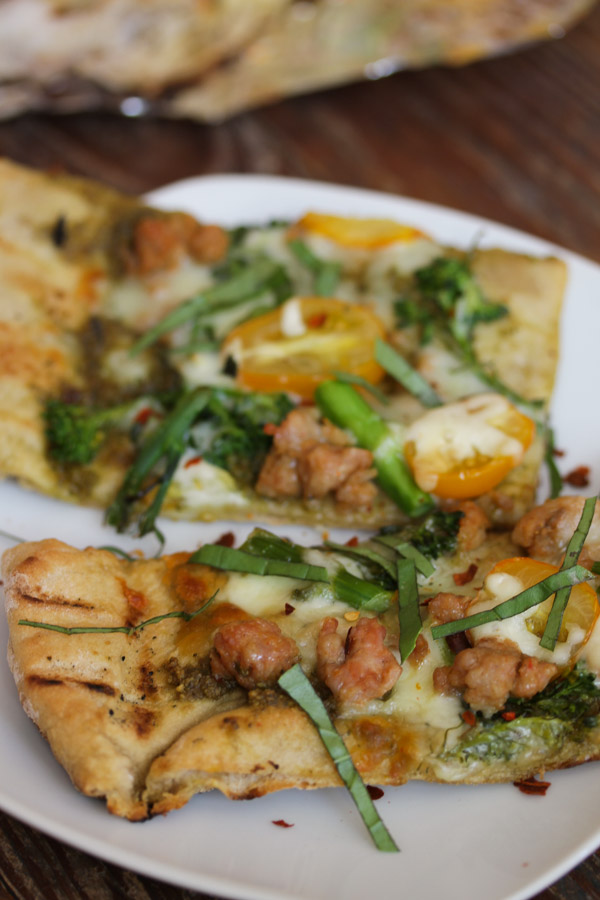
grilled pizza with pesto and broccolini
Ingredients
- pizza dough
- flour for rolling dough and coating pizza peel/cookie sheet
- 2 oz. (56 g. / 1/4 cup) pesto (i’m partial to this one but you can also use store-bought)
- 4 oz. (113 g. / 1/2 cup) mozzarella cheese, shredded
- 4 oz. (113 g. / 1/2 bunch) broccolini, trimmed into 2″ sections
- 1/2 pint cherry tomatoes, halved lengthwise
- 1 hot sausage link, optional (i used turkey sausage)
- 1/4 cup fresh basil, cut into thin ribbons
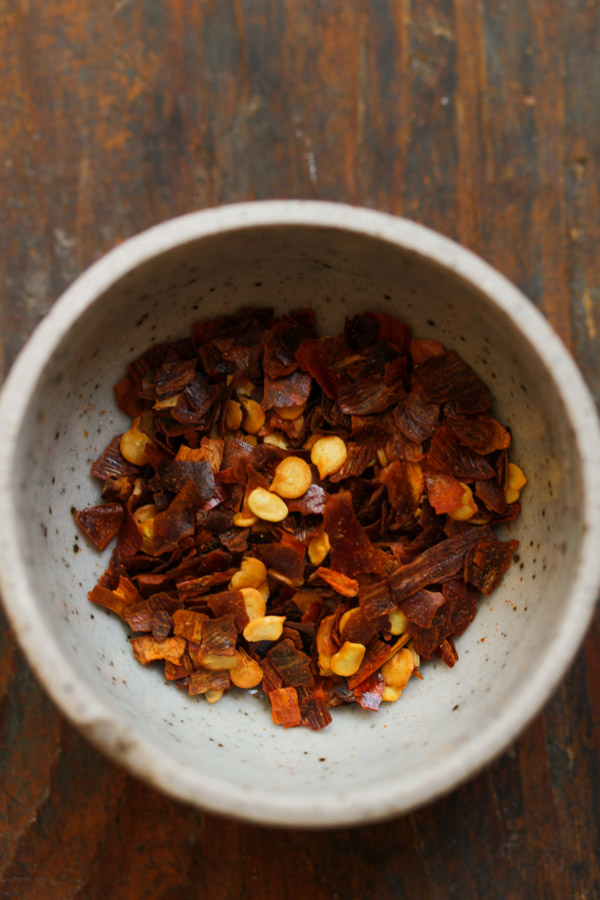
- 1/2 teaspoon crushed red pepper. optional/to taste
Instructions
prep
- remove the casing from the sausage (if using) and brown the meat in a small skillet, breaking it into small pieces as it cooks. once it’s thoroughly cooked, remove from heat and set aside.
- bring a medium sized pot of water to boil and then blanch the broccolini for 2 – 3 minutes, until the stalk pieces are just beginning to soften. drain and run under cold water to stop the cooking process. shake out any excess water then spread out on a few layers of paper towel and gently blot dry. set aside.
- preheat the grill to 350° F.
- make sure the rest of your ingredients (including extra flour) are out and ready to go.
- use a rolling pin to roll your dough out in roughly the shape of your grill (either rectangular-ish or circular-ish). coat the dough and surface you are rolling it on with plenty of flour to prevent sticking. if the dough keeps shrinking back when you try to roll it, let it rest for a few minutes then try again. if you have a pizza peel, feel free to use it but if you don’t, grab a cookie sheet (upside down if it has a rim) and slide the well-floured dough onto the well-floured peel/cookie sheet. grab your grill utensils, which hopefully include a timer, some heat-safe tongs that don’t have sharp points (which would rip holes in the dough), and a heat-safe, long-handled spatula. potholders are also good, though you may not end up needing them.
cook and assemble the pizza
- once the grill is preheated, gently shake the cookie sheet/pizza peel side to side a little bit to ensure the dough isn’t sticking to it anywhere. if it is, gently slide your hand between the dough and peel/cookie sheet to release the stuck sections. this step is important to preventing folded-up dough disasters in the next step!
- ok, it’s go time: one person should hold the peel/cookie sheet and the other person should open the grill lid and then quickly/gently/carefully get the dough off the peel/cookie sheet and onto the grill grate. once the lid is open, hopefully the cookie sheet holder can hold the cookie sheet over the grate at a 45° angle, starting at the back of the grill, and just slide the dough down off the peel/cookie sheet onto the grate, pulling the peel towards the front of the grill. in reality, person #2 will have to use the tongs to coax the dough onto the grate and also use the tongs to unfold any parts that got folded over during this maneuver. work quickly but don’t panic; the heat isn’t high enough to weld the folded over parts together instantly. accept that not every folded part will get unfolded and just focus on the big folded over sections. you have about 10 – 15 seconds from when the dough hits the grate to when it enters the (temporarily) welded onto the grate stage.
- once you’ve got the dough mostly straightened out/time’s up and it’s welded onto the grate, shut the lid and start a timer for 2 minutes. after 2 minutes, open the lid and take a peek to gauge how fast the dough is cooking. once the bottom of the dough is cooked, it will stop being welded to the grate so that you can check to see how dark it is getting. i usually keep the dough on the grill for 3 – 4 minutes total during the first round to get some color but ideally no black marks.
- once the dough is your prefered level of doneness on the bottom, grab the tongs and cookie sheet, hold the cookie sheet level with the grate, and slide the dough off the grate onto the sheet.
- the bottom that you just cooked it going to become the side that you put the toppings on. bring the dough to your ingredients, slide the dough (cooked side down) onto another large, flat surface for a second, dry off your peel/cookie sheet, add more flour, and then flip the dough back onto the peel/cookie sheet so that the cooked side is now facing up. now that the dough is partially cooked, it’s much easier to handle but the uncooked side is still prone to sticking to whatever it rests on, hence the addition of more flour.
- working quickly, spread a not-too-thick layer of pesto over the dough, then evenly sprinkle the tomatoes, broccolini, sausage, and crushed red pepper over the dough. i like to put the mozzarella on last so that as it melts, it holds everything in place.
- bring the topped pizza back to the grill. again, gently shake the peel/cookie sheet side to side to check for sticky spots before you open the grill lid. once the dough is unstuck, open the grill and use the tongs to gently pull the back crust of the dough towards the back of the grill. be careful not to tilt the peel/cookie sheet too much or the toppings will start to slide off into the fire.
- once the pizza is situated, close the lid and again set a timer for 2 minutes. this time when you check the pizza’s progress, you’re checking both the crust and the cheese melting situation. again, i usually end up cooking the pizza for 3 – 4 minutes on the second side. once the pizza is done, hold the peel/cookie sheet level with the grill grate to transfer the pizza off the grill.
- transfer the pizza to a cutting board and let it cool for 1 minute so that they cheese and toppings have a chance to settle in place.
- cut into desired number of slices and top with basil and additional crushed red pepper, if desired.
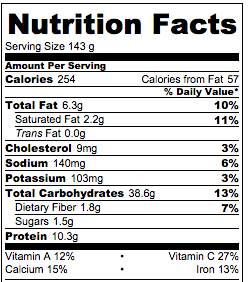
nutrition facts are for 1 slice of a pizza cut into 8 pieces.

 Save to BigOven