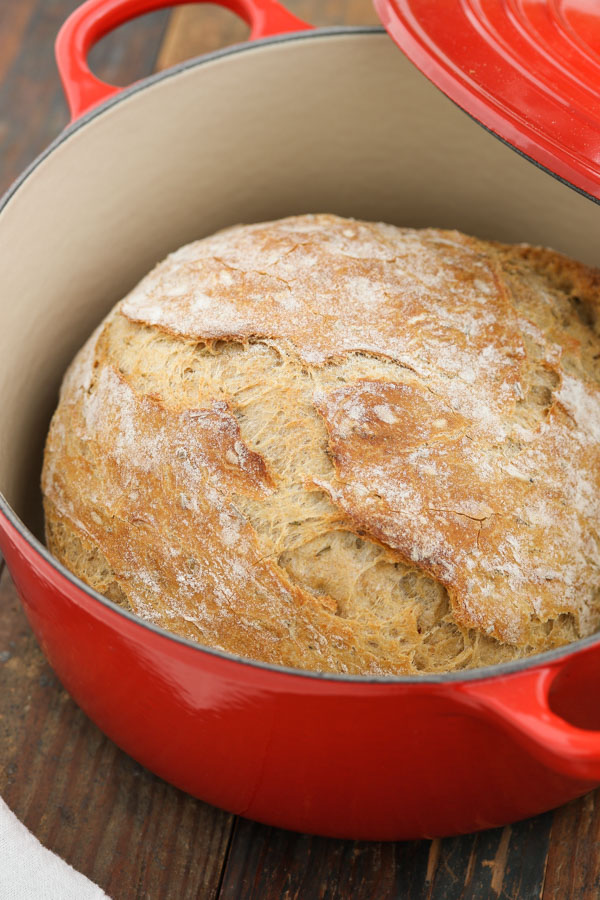
i have always loved good, crusty bread but for years and years, i was totally intimidated by the thought of baking it myself. i mean, yeast. water temperature. kneading. rising. how does one ever possibly learn how/what/when to do with these important-yet-difficult-to-quantify variables?! the water temperature situation i would be able to conquer now that i have a thermometer but the rest of those… where to even start?! is that what still-happy proofed yeast looks like??
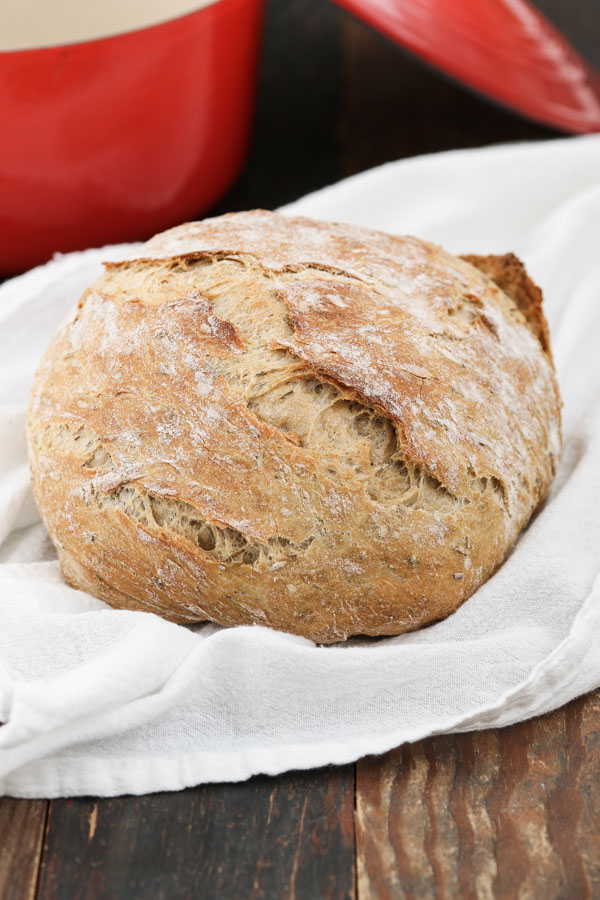
all of this is to say, you can imagine my delight when no-knead overnight bread swept through the interwebs (several years ago – hey, i never said i was trendy at the same time as everyone else…). these no-knead overnight bread recipes took two more of the scary variables out of the equation. we can tell right from the title that kneading is out. no more guessing if this blob of flour and water is too sticky or too dry or if i’ve overworked the dough or not developed enough gluten yet. phew!
the overnight piece not only came with a suggested number of hours, it also reduced the importance of getting the timing juuuuuust right. if something is rising for 2 hours and you leave it an extra half an hour, that’s 25% of the total rising time! if it’s supposed to rise for 12 – 18ish hours and you leave it a bit extra, meh, who’s worried? this is a big win for those of who don’t really remember exactly how big a lump of flour and water was 2 hours ago and can’t accurately gauge if this lump is twice the size of the lump two hours ago (or, heaven forbid, 2 hours and 30 minutes ago!).
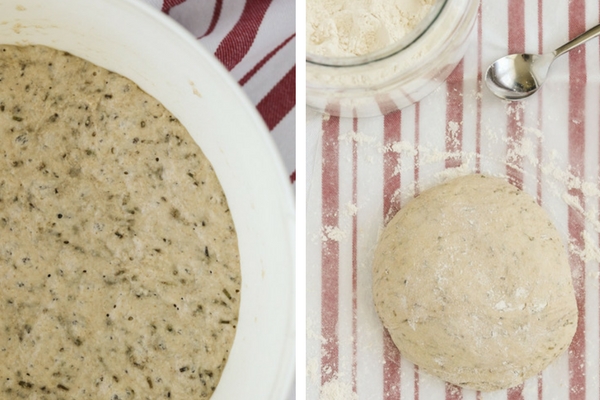
left: after the first rise (bubbles!) | right: ready to start the 2 hour rise
so, now that i’ve toooootally talked you out of ever considering making traditional yeast bread (or confirmed that i am, in fact, a lightweight, depending on where you fall on the yeast bread baking spectrum…), let me tell you how easy and forgiving this no-knead overnight rosemary bread is! so easy! so forgiving! in the years since discovering this recipe, i have messed with this recipe six ways from sunday and it basically just always works. total magic i tell you.
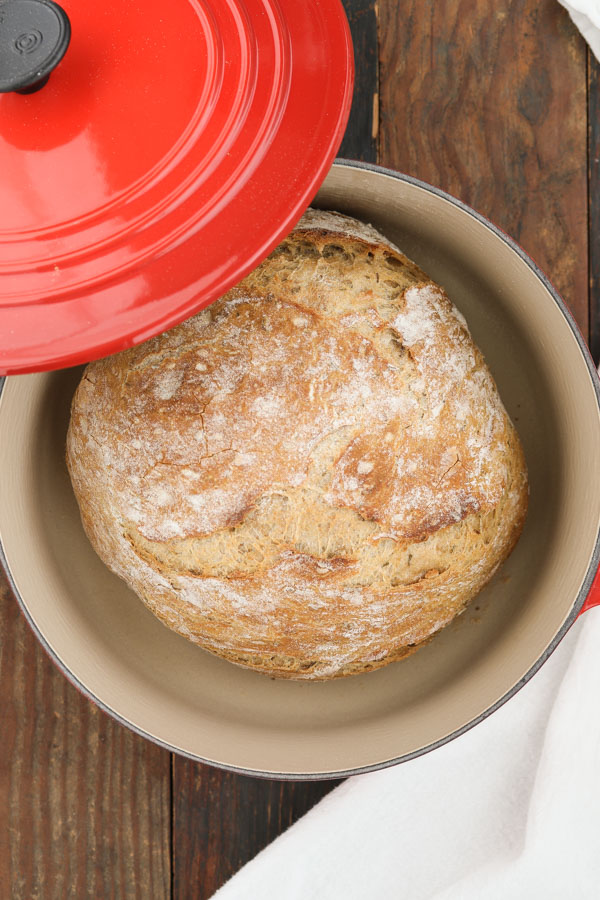
let’s talk specifics: you don’t need a borderline-professional strength mixer; you do need a heavy pot or casserole dish with a lid that can go in the oven. you don’t need a lot of yeast; you do need some time (this is a great weekend project – most of the time is hands off). you don’t need a baking stone, peel, special rising basket, rocks, thick metal chains, or pot holders that go up to your elbows (all of which i have seen called for by various “make bakery quality bread at home recipes”); you do need a non-terry cloth cotton towel or two. a scale beats measuring cups every time. are we all in? i think we can do this.
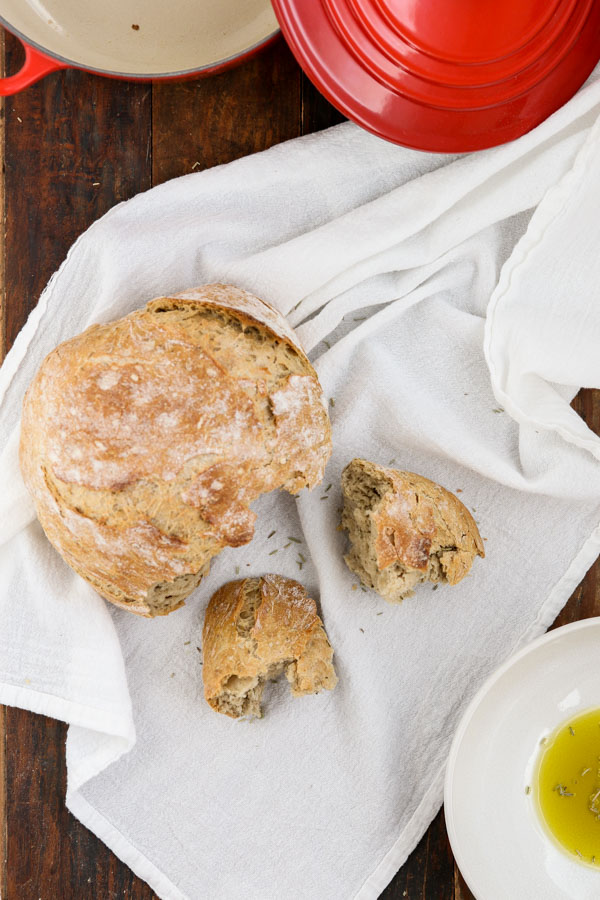
i’ve provided lots of detailed instructions below, but that’s just how i do. you really can’t mess this up (i guess if your yeast was years old and totally dead…). go team yeast bread bakers at home!
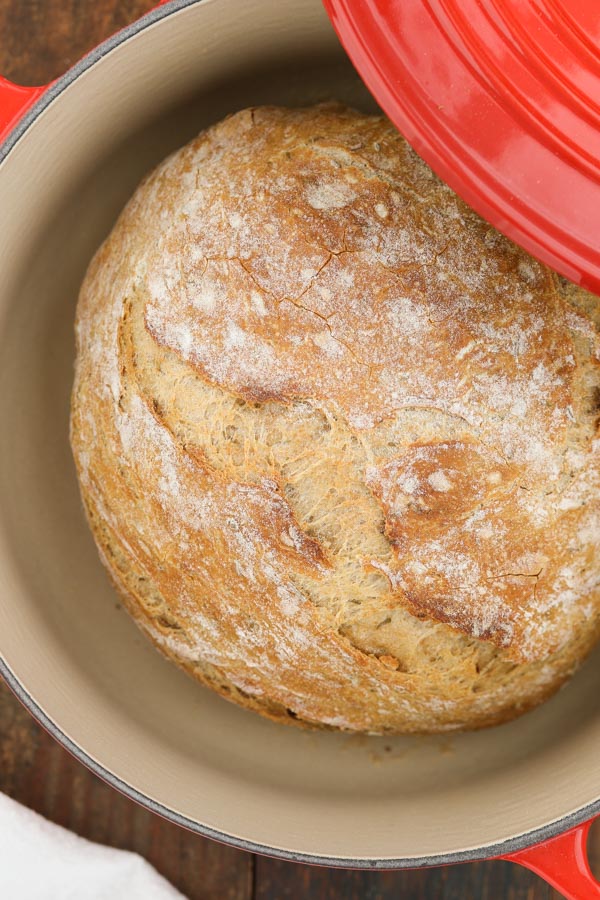
no-knead overnight rosemary bread
Ingredients
- 430 g. (15 1/8 oz.) flour (i like to use 215 g. (7 ½ oz.) white whole wheat flour and 215 g. (7 ½ oz.) bread flour; you can also use 430 g. (15 1/8 oz.) of all-purpose flour. if you want the blend, that’s 2 cups minus 1 tablespoon of white whole wheat flour and 2 cups minus 2 tablespoons of bread flour. if you’re using just all-purpose flour, use 3 ½ cups.)
- ¼ teaspoon active dry yeast, double this if you are using half white whole wheat flour
- 1 teaspoon salt
- 5 g. (1 tablespoon) dried rosemary
- 1 5/8 cups (390 ml / 13 oz.) water (just cool tap water – the temperature isn’t important)
Instructions
- in a large bowl (bonus points if it has an airtight lid), combine flour, yeast, salt, and rosemary. stir with a large wooden spoon to combine everything. add the water and stir with the spoon until everything is combined. it will be a shaggy mess; that’s ok, you’re doing it right. cover the bowl with its lid if it has one or with plastic wrap. if your air is dry, you might want a second layer of plastic wrap.
- leave the bowl in a warmish room temperature (65 – 72° F) spot for 12 – 21 hours (yes, seriously). the dough is ready when the surface is coated with little bubbles (see the photo above). the dough will take longer to develop bubbles in a cooler room but either way, it’s pretty forgiving at this stage. i tend to dictate rising time based on my schedule, rather than the other way around for more traditional bread recipes. longer is better for developing more flavor.
- grab your non-terry cloth cotton towel, a bit of extra flour, and a fine-mesh strainer, if you have one. lay the towel out and coat it with a thin, even layer of flour (i find a strainer helps with this but it’s not essential). with floured hands, peel the (sticky) dough out of the bowl and gently shape it into a ball with the seam on the bottom. you don’t need to worry about being super gentle but don’t handle the dough more than necessary or squash all those nice air bubbles out. place the dough on one side of your towel if it’s large enough to fold over and cover the dough or in the center if it’s a smaller towel. cover with either the other half of the towel or a second towel.
- let the dough rise for about 2 hours (this time frame is less lenient, but still forgiving). 30 minutes before the dough is done rising, place a deep, heavy covered pot (dutch oven, oven safe stock pot, pyrex, ceramic, etc.) in the oven on the middle shelf and preheat the oven and the pot to 450° F. make sure to preheat the oven and pot for at least half an hour, not just until the oven tells you it’s preheated. generally, the heavier your pot, the better. more specifically, the better it is at retaining heat (dutch oven, cast iron), the better.
- the dough is ready when it has doubled in size (i know, i’m sorry) and doesn’t spring back when you gently poke it with your finger. check to make sure the dough isn’t stuck to the towel (mine usually is – just gently pry up around the perimeter) and try to get some of the excess flour off the towel. i stick my hand under the dough and then let the rest of the towel hang over my arm over the sink and ever so gently shake the hanging part of the towel. carefully remove the pot from the oven and gently dump the dough from the dish towel into the pot, seam side up. try not to dump excess flour in the oven or in the pot where the dough won’t touch it because it just burns. put the lid on the pot and put the whole thing in the oven. set a timer for 30 minutes. when the timer goes off, remove the lid, leave the pot and bread in the oven, and set the timer for another 15 minutes.
- after the bread has baked uncovered for 15 minutes, peek at it to see if the top is golden brown. if it’s not, reset the timer (it may take up to another 15 minutes to bake). if the top looks good, carefully take the hot pot out of the oven and use pot holders to take the hot bread out of the pot. it won’t stick to the pot but it is hot. if you have a thermometer, stick it in the bottom of the bread (so the top doesn’t turn into a peg board) and see if it registers 205° F. if not, bake the bread a bit longer (i usually put it back in the pot, no lid). if you don’t have a thermometer, tap on the bottom of the bread to see if it sounds hollow, which means it’s done.
- once the bread is done, cool it on a rack for at least two hours. seriously. bread takes a long time to cool and ripping into it before it’s cool can make the interior gummy.
- once the bread is cool, enjoy and give yourself a high five! leftovers can be kept in an airtight container for a day or two at room temperature then revived in a toaster. to store the bread for longer, seal it in an airtight container and freeze it. you may wish to portion it out into serving size hunks or slices before you freeze it, depending on your bread consumption habits.
Notes
if you don’t like rosemary, you can just leave it out without making any other modifications.
high altitude first, please note, i am by no means an expert on high altitude baking. i have made this bread exactly once, at around 5,000 ft. here’s what i changed: i added a little bit more water to the dough at the beginning to account for the drier air, i covered the bowl with plastic wrap and then a plate (again, to protect against the dry air and prevent a skin from forming on the top of the dough as it rises), i baked the bread at 465° F, and i baked it for the same amount of time overall, but i took the lid off 5 minutes sooner in the process (mostly because i wanted to see how it was doing). two resources that i found helpful were the king arthur flour high altitude baking guide and the high altitude food preparation guide from colorado state university. good luck!
adapted from a combination of mark bittman’s no-knead bread and jim lahey’s “baking the perfect loaf of bread at home” recipe which seems to no longer be available on the sullivan st. bakery website (see, this is why i keep my printouts!).
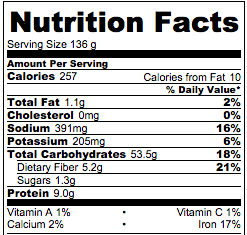
Nutrition Facts
no-knead overnight rosemary bread
Serves: one 1 1/2 pound loaf
| Amount Per Serving: | ||
|---|---|---|
| Calories | 257 | |
| % Daily Value* | ||
| Total Fat | 0 | |
| Saturated Fat | 0 | |
| Trans Fat | ||
| Cholesterol | 0 | |
| Sodium | 0 | |
| Total Carbohydrate | 0 | |
| Dietary Fiber | 0 | |
| Sugars | ||
| Protein | ||
| Vitamin A | Vitamin C | |
| Calcium | Iron | |
* Percent Daily Values are based on a 2,000 calorie diet. Your daily values may be higher or lower depending on your calorie needs.
tasty seasons
please note this page contains affiliate links, which means that if you make a purchase after clicking from here, i will earn a small commission from amazon at no additional charge to you. i only link to products that i use and love. thank you for supporting tasty seasons!

 Save to BigOven
Hurray for a bread recipe that isn’t super complicated! Made this and it turned out perfect my first try. It was so simple, I was able to get it made even with my 2 young kids running around. We loved dipping it in olive oil. I will for sure make this again.
awesome! i’m so glad the recipe worked for you and wasn’t too complicated! i remember being really intimidated by yeast breads and being so relieved when i found the recipe this one is based off of because it finally seemed manageable. thanks for letting me know you tried it!
Yummm!
yay! i’m glad you like this bread!